

8 Must have files for every Node project
Utility files that help you maintain your project easily in a robust manner


When working on a Node project, there are some files you obviously need for your project like package.json and node_modules/ ..... duh! and there are files that are optional to have but including them in your project do add value to it and benefit in the long run. There are lots of such helpful utility files that are not directly the part of your project, per say i.e. they do not provide any logic or functionality to your project but do add up some other kind of value. For example, they may help you in maintaining the project, keeping your code clean, scaling it in future or you just want to show off to people by adding them to your project and make it look cool.
Regardless, these are the unsung heroes of every project and I personally feel they deserve a shoutout so I have compiled a short list of all the files that I feel should be a present in every Node project regardless of whether it is frontend or backend project.
1. .nvmrc
Node is not exactly backward compatible and thus working with multiple versions of Node across different versions can make it hectic. NVM is a standard tool used to manage different Node versions. It makes it super easy to transition from one version to another, locally as well as globally. While it can be done with a simple nvm command, you will always have to remember which project uses which Node version, or maybe you will have to refer the engines info from package.json . A better solution is to simply create a new file at the root of your project and name it .nvmrc and write the exact Node version inside it.
.nvmrc
14.17.3
And then whenever you wish to switch to this Node version while working on the project, simply run this command in the root folder to switch to it.
nvm use
Note that you need not specify the version. NVM will automatically look for the .nvmrc file and update the Node version for the local terminal to the specified Node version.
2. .gitignore
This one is too obvious and probably the most common from the entire list but I still felt I had to mention this. A .gitignore file allows you to specify the list of files and folders that should not be tracked by git. It can be created anywhere in your project however a general and accepted practice is to create it at the root of your project directory.
While this file comes prebuilt if you use some CLI to bootstrap your project (e.g. - create-react-app, create-nuxt-app etc.), you will have to create it and set it up on your own if you are starting your project from scratch e.g. if you are setting up Node Express project without any boilerplate.
Using a .gitignore is a simply must since you do not want to end up pushing our node_modules/ or environment secrets to Github .... nobody wants that.
3. Prettier Config file
Any one of the following could work -
- .prettierrc
- .prettierrc.json
- .prettierrc.yml
- .prettierrc.toml
- .prettierrc.js
Prettier is one of the most popular code formatters for NodeJS. It can be installed via npm or as an extension in VS Code.
Having a crystal clear configuration file for it can go a long way in making your code clean and consistent. Setting up the config file takes less than a minute and it allows Prettier to format the code according to your needs.
Sample .prettierrc file
{
  "singleQuote": true,
  "trailingComma": "all",
  "printWidth": 100,
  "tabWidth": 2
}
4. .editorconfig
An EditorConfig file helps in maintaining consistent coding style across multiple IDEs and editors for multiple developers. If you are working on a project with a team, having an .editorconfig is not just a choice for you. Set it up in your root folder and your entire team will stick to the commonly shared coding standards defined by this file regardless of their editor or IDE settings. Note that if you are using VS Code, you must install and enable this extension to utilize the benefits of editor config files.
Here's sample .editorconfig for you to copy for your next Node project
# EditorConfig is awesome: http://EditorConfig.org

# top-most EditorConfig file
root = true

# Unix-style newlines with a newline ending every file
[*]
end_of_line = lf
insert_final_newline = true

[*.ts]
indent_style = tab
indent_size = 4

# Matches multiple files with brace expansion notation
# Set default charset
[*.{js,py}]
charset = utf-8

# 4 space indentation
[*.py]
indent_style = space
indent_size = 4

# Tab indentation (no size specified)
[Makefile]
indent_style = tab

# Indentation override for all JS under lib directory
[lib/**.js]
indent_style = space
indent_size = 2

# Matches the exact files either package.json or .travis.yml
[{package.json,.travis.yml}]
indent_style = space
indent_size = 2
5. sample.env
Almost every project has some environment variables set in it. It could API keys, or Token signing secrets or Database credentials. A standard practice is to store all of these inside a .env file created at the root of your project and just fetch them using dotenv module.
However I find that a lot of people do not bother creating a sample.env file for their project. The purpose of this file is to show other programmers who are not familiar with your project what all environment variables are required to set up the project and get started with it. If you are working in a team or an open source project, a sample.env file goes a long way in helping your peers set up your project quickly and smoothly.
Just put all the variables from your .env file into this with some fake credentials. If there's some additional set up required for fetching API keys or DB credentials, mention that in the Readme.md file. But always set up a sample.env .
6. Readme.md
Quite obvious ... isn't it ? Yet a lot of new developers do not bother setting up a Readme file for their projects or do not bother putting much content into it and hope that everyone will simply dive into their code.
Never gonna happen buddy.
Your Readme is the cover page of your project. Do not judge a book by its cover. Sure. But noone said anything about not judging a project by its Readme.
Most people will look at your Readme and never read a single line of code. That's just the truth of this harsh world. So setting up a good well-documented Readme is absolutely necessary.
The Readme file should contain these details
- A short description
- Badges (optional)
- Screenshots (if it is a frontend project)
- API Docs (if it is a backend project)
- A full documentation about the project (If is a large project)
- How to set up locally ?
- How to contribute ? (Optional - sometimes put in a separate file as Contributing.md)
If there are any other details you want to communicate to your viewers or teammates, its better to put that as a Note in the Readme as well.
The more descriptive your Readme is, the more interest people are going to show in your project.
7. Config file
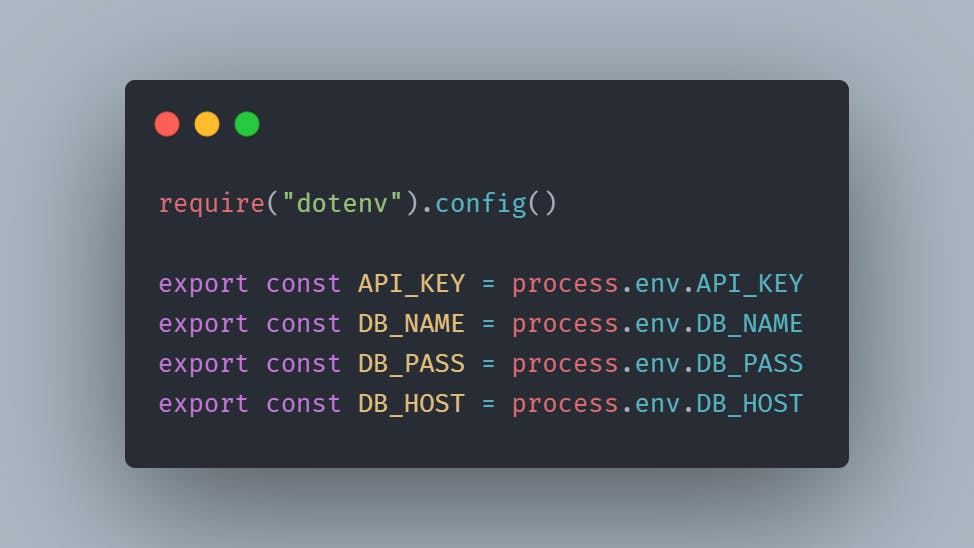
A config.js file is a simple file that handles the configuration of your project. Ideally, all your environment variables should be imported here. All remaining files in your project should simply fetch the config variables from this file. Your source code should never contain any code that has to deal with handling environment variables or other configuration related details. All of that logic should come under this single file thus keeping your code clean and easy to maintain.
For a small project, a single file is enough. However if the size of your project is large and you are working on multiple apps inside a single project, I would suggest creating a config folder instead and putting multiple config files inside it, one for each app and one common config file for the entire project that is commonly used by all apps.
Multiple projects have multiple environment variables based on whether they are being tested on Production or in testing, or maybe in development. All of those configurations and environment variable assignments go in this file.
A simple example of a config file with a single dev environment
8. ESLint Configuration
.eslintrc.js, .eslintrc.yml or .eslintrc.json
ESLint allows you to identify problems in your JavaScript/TypeScript code before executing it. Linting is a very important technique as it allows you to maintain consistent coding conventions without automated enforcement. Most editors/IDEs provide built-in support for ESLint. However not everyone likes the default settings of ESLint so you customize them to you own need by creating one of the above three mentioned files and writing down your ESLint configuration in them. It is very simple and takes less than a minute to set up in most cases.
Sample .eslintrc.json for React
{
    "parserOptions": {
        "ecmaVersion": 6,
        "sourceType": "module",
        "ecmaFeatures": {
            "jsx": true
        }
    },
    "rules": {
        "semi": 2
    }
}